Main Page

Current Events: The First Order
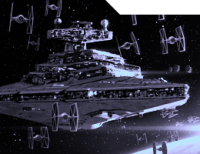
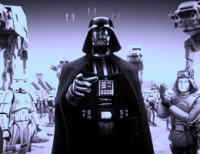
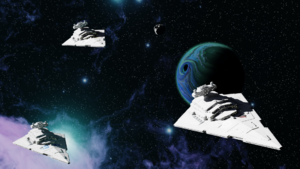 As the Emperor’s Hammer Strike Fleet began to enter First Order controlled territory they were met by a First Order patrol. The First Order seemed to be guarding a central fueling depot with several patrols that navigate the surrounding area. The Gasriese System is home to the massive gas giant, Zephyron. The First Order has stationed a fuel depot in low orbit and have been siphoning the various gases for a considerable period of time. So much so, that a massive vortex has formed while the primary suction tubes extend down to the planet. There are several moons that show signs of strip mining operations and a great deal of debris litters the space over the moons. There are no inhabited planets within the system. Neither side expected to encounter the other, indeed to the First Order the Emperor’s Hammer is a rogue Imperial Remnant faction, since it did not join in The Battle of Jakku and Operation Cinder. Likewise, only Grand Admiral Ronin knows the original orders given to the Emperor’s Hammer by the late Emperor Palpatine. Grand Admiral Rapier and Sector Admiral Kamjin “Maverick” Lap’lamiz only know what Grand Admiral Ronin has shared with them over the years. The First Order, in its initial communication attempted to order the Emperor’s Hammer to submit to its authority, something that the forces of the EH refused, setting the scene for Imperial Storm VII. The TIE Corps will therefore attempt to eliminate the First Order forces in the Gasriese System and acquire its Fuel Depot at the edge of First Order territory; the acquisition of any equipment will be a bonus. Whilst this goes on, the Sith Eternal will also attempt to contact the EH to gain an understanding of its intentions. Welcome to Imperial Storm VII! |