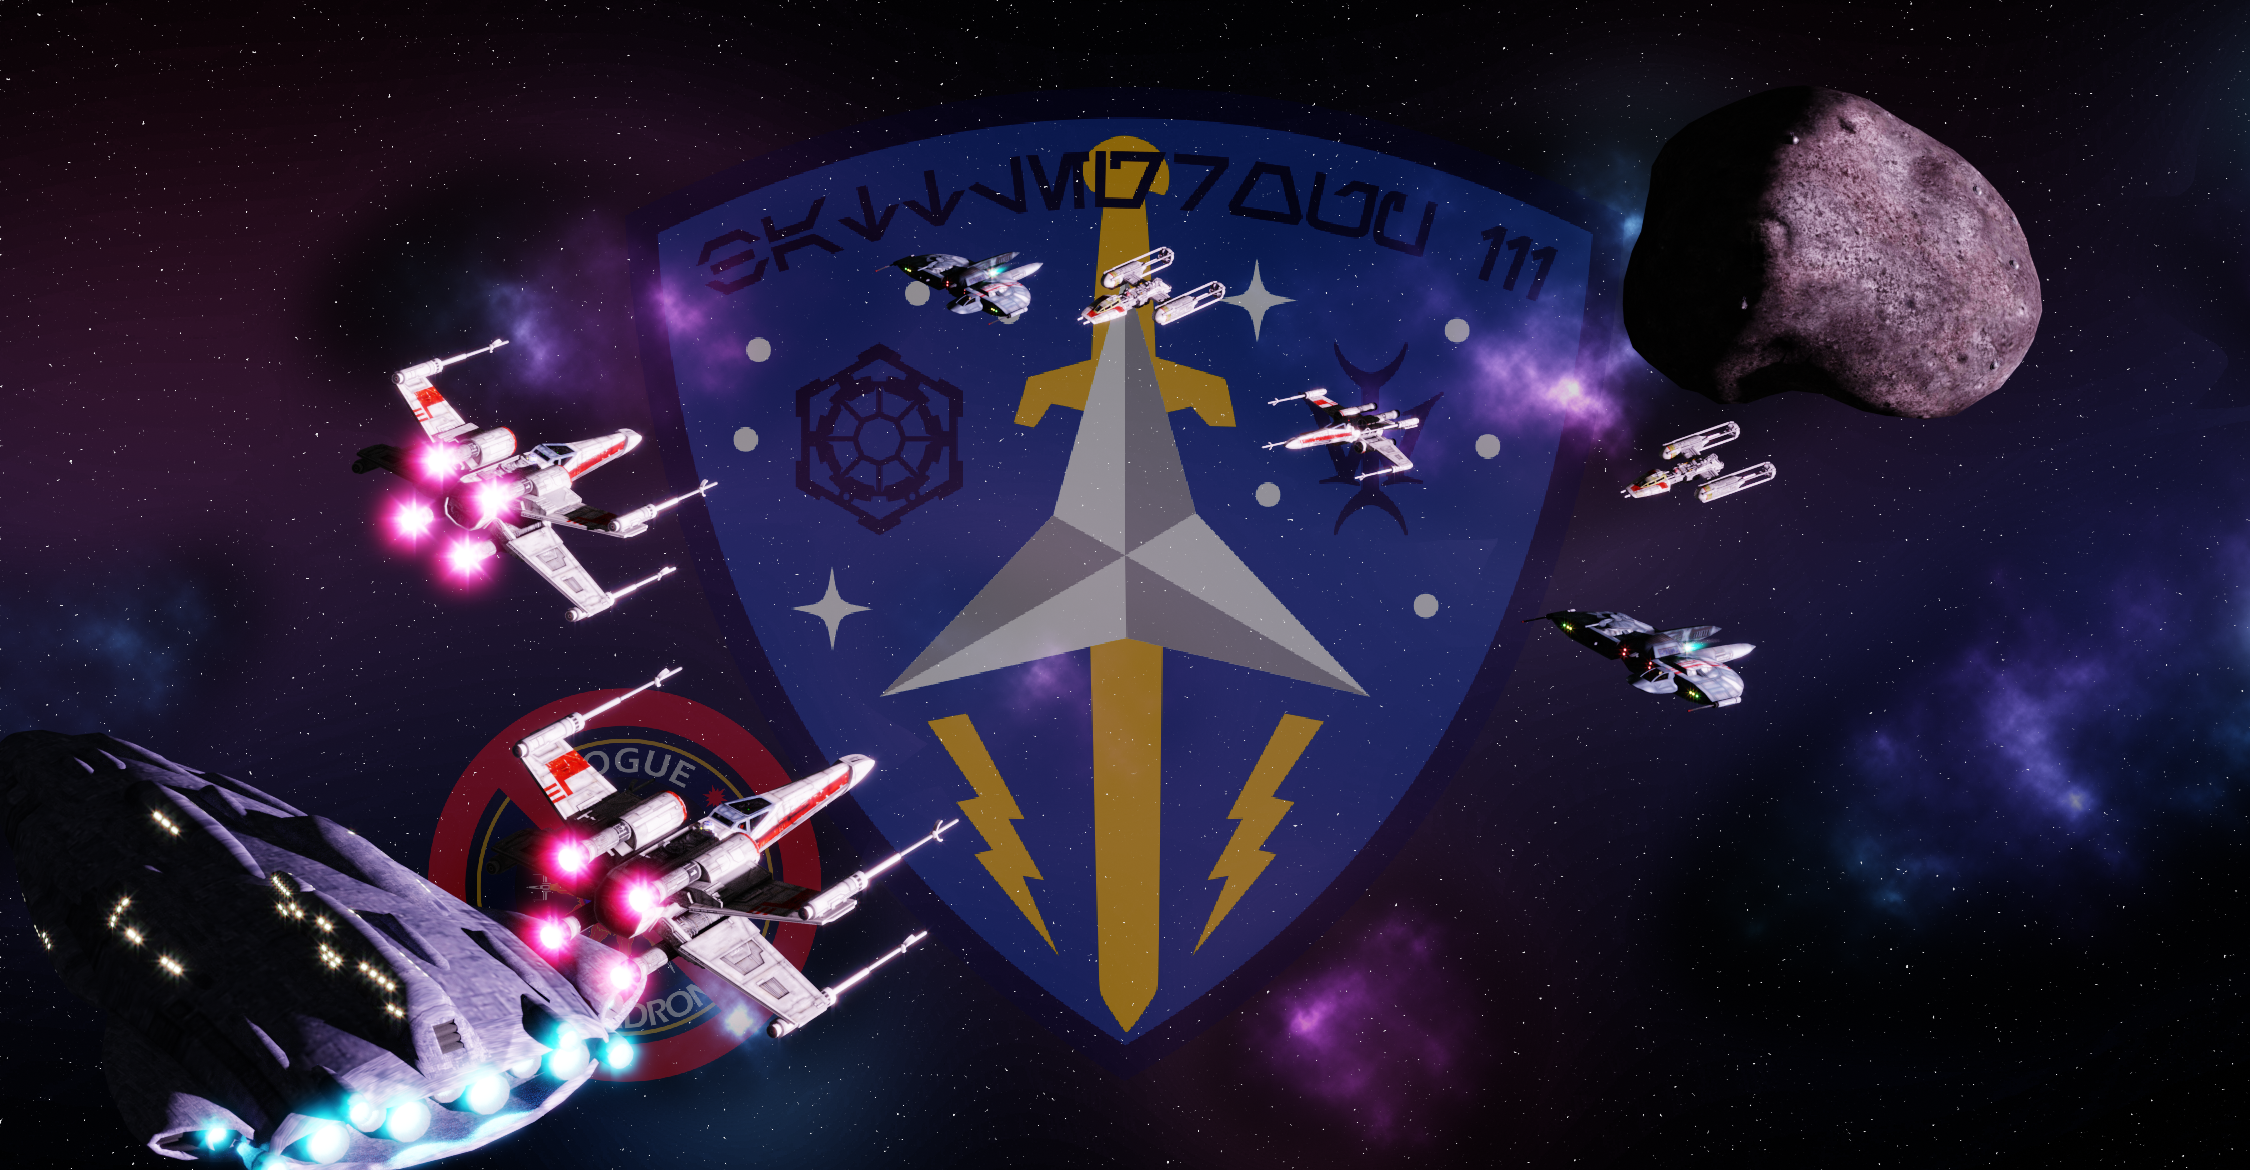
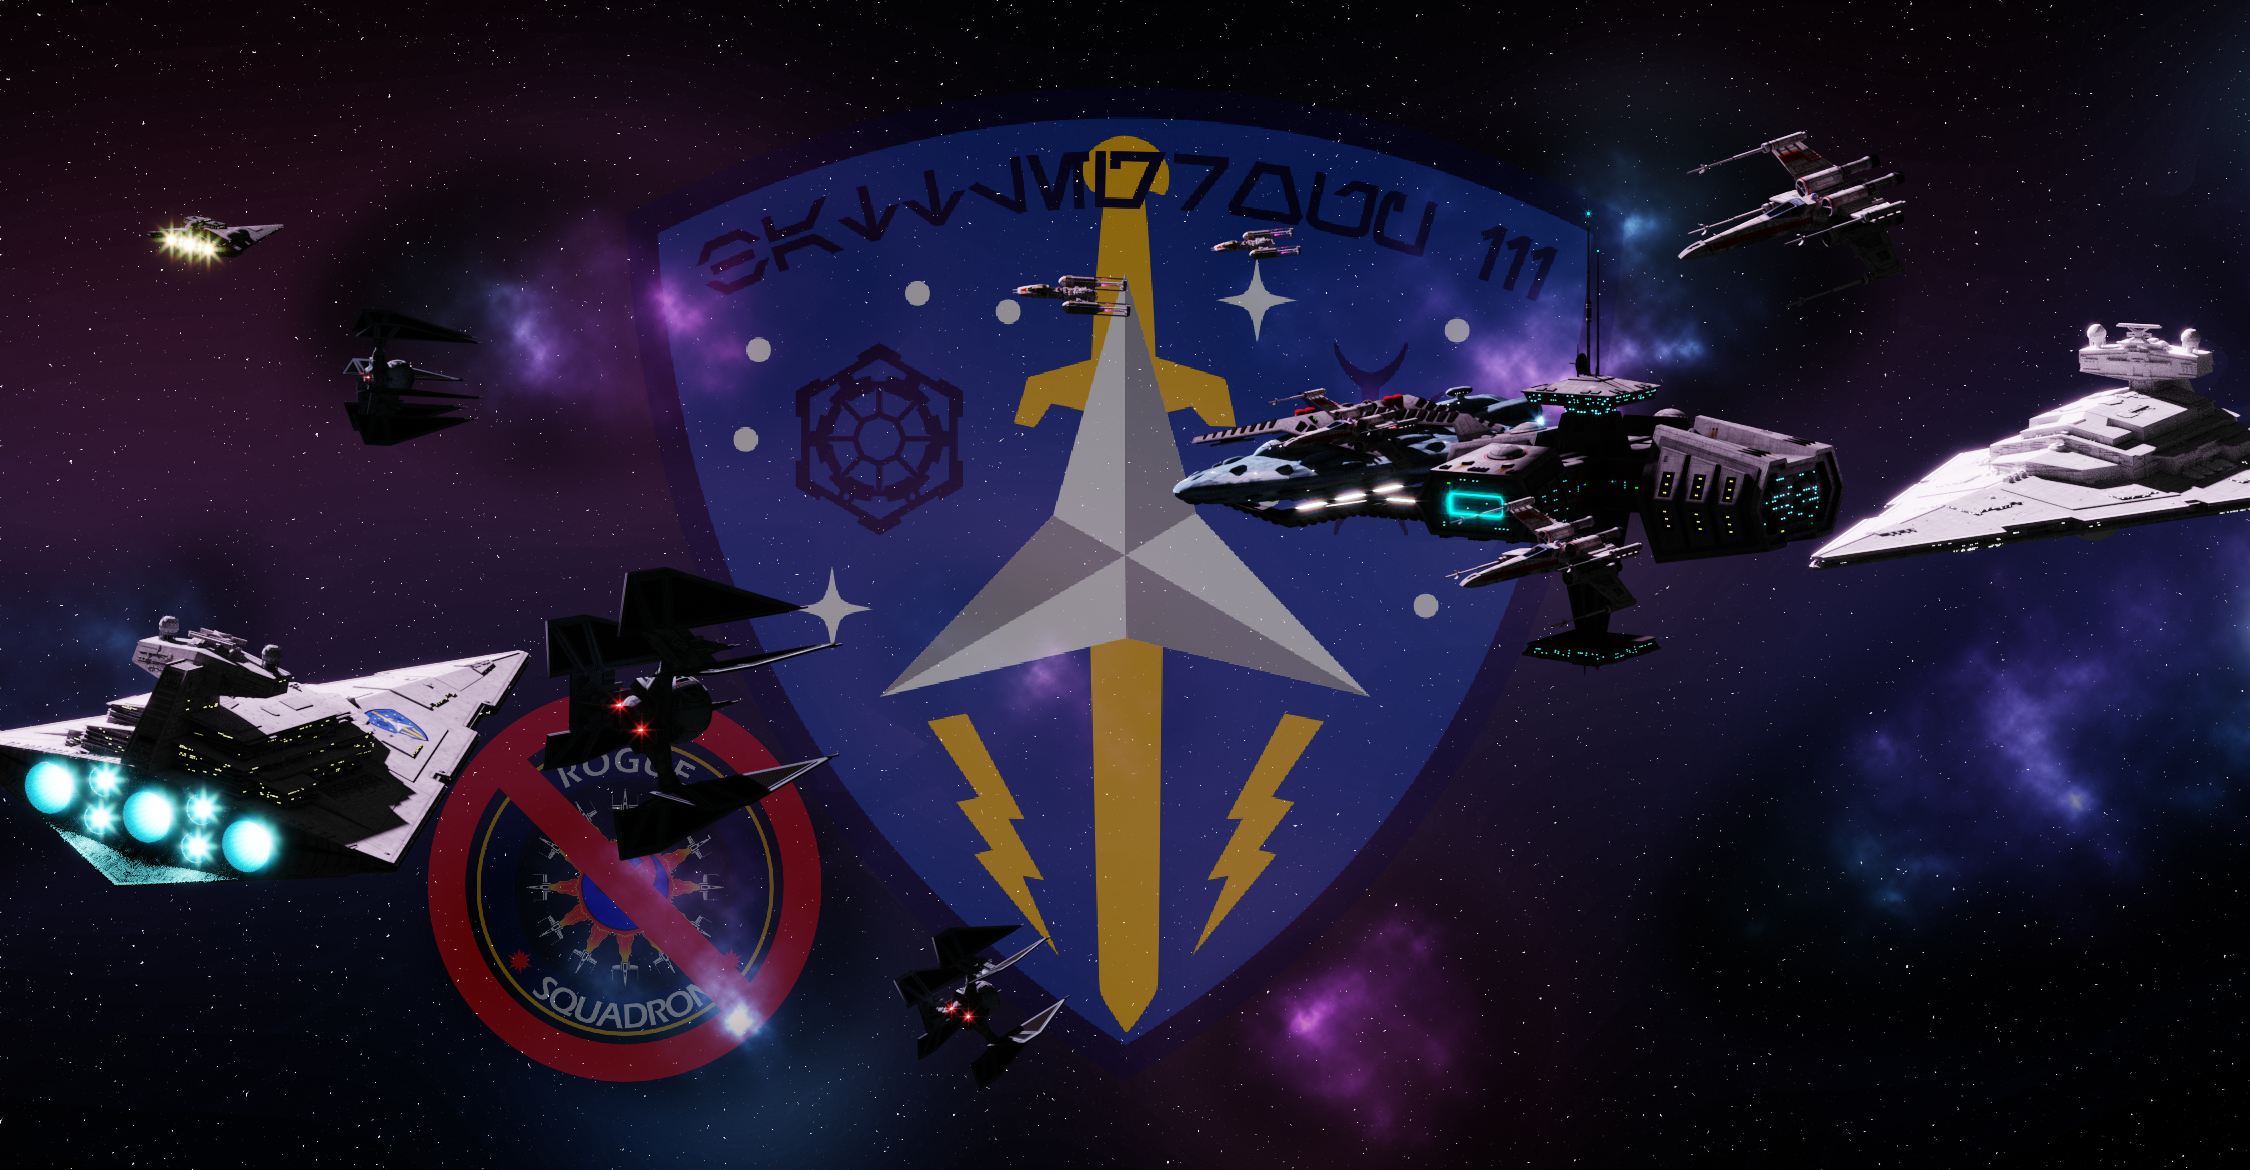
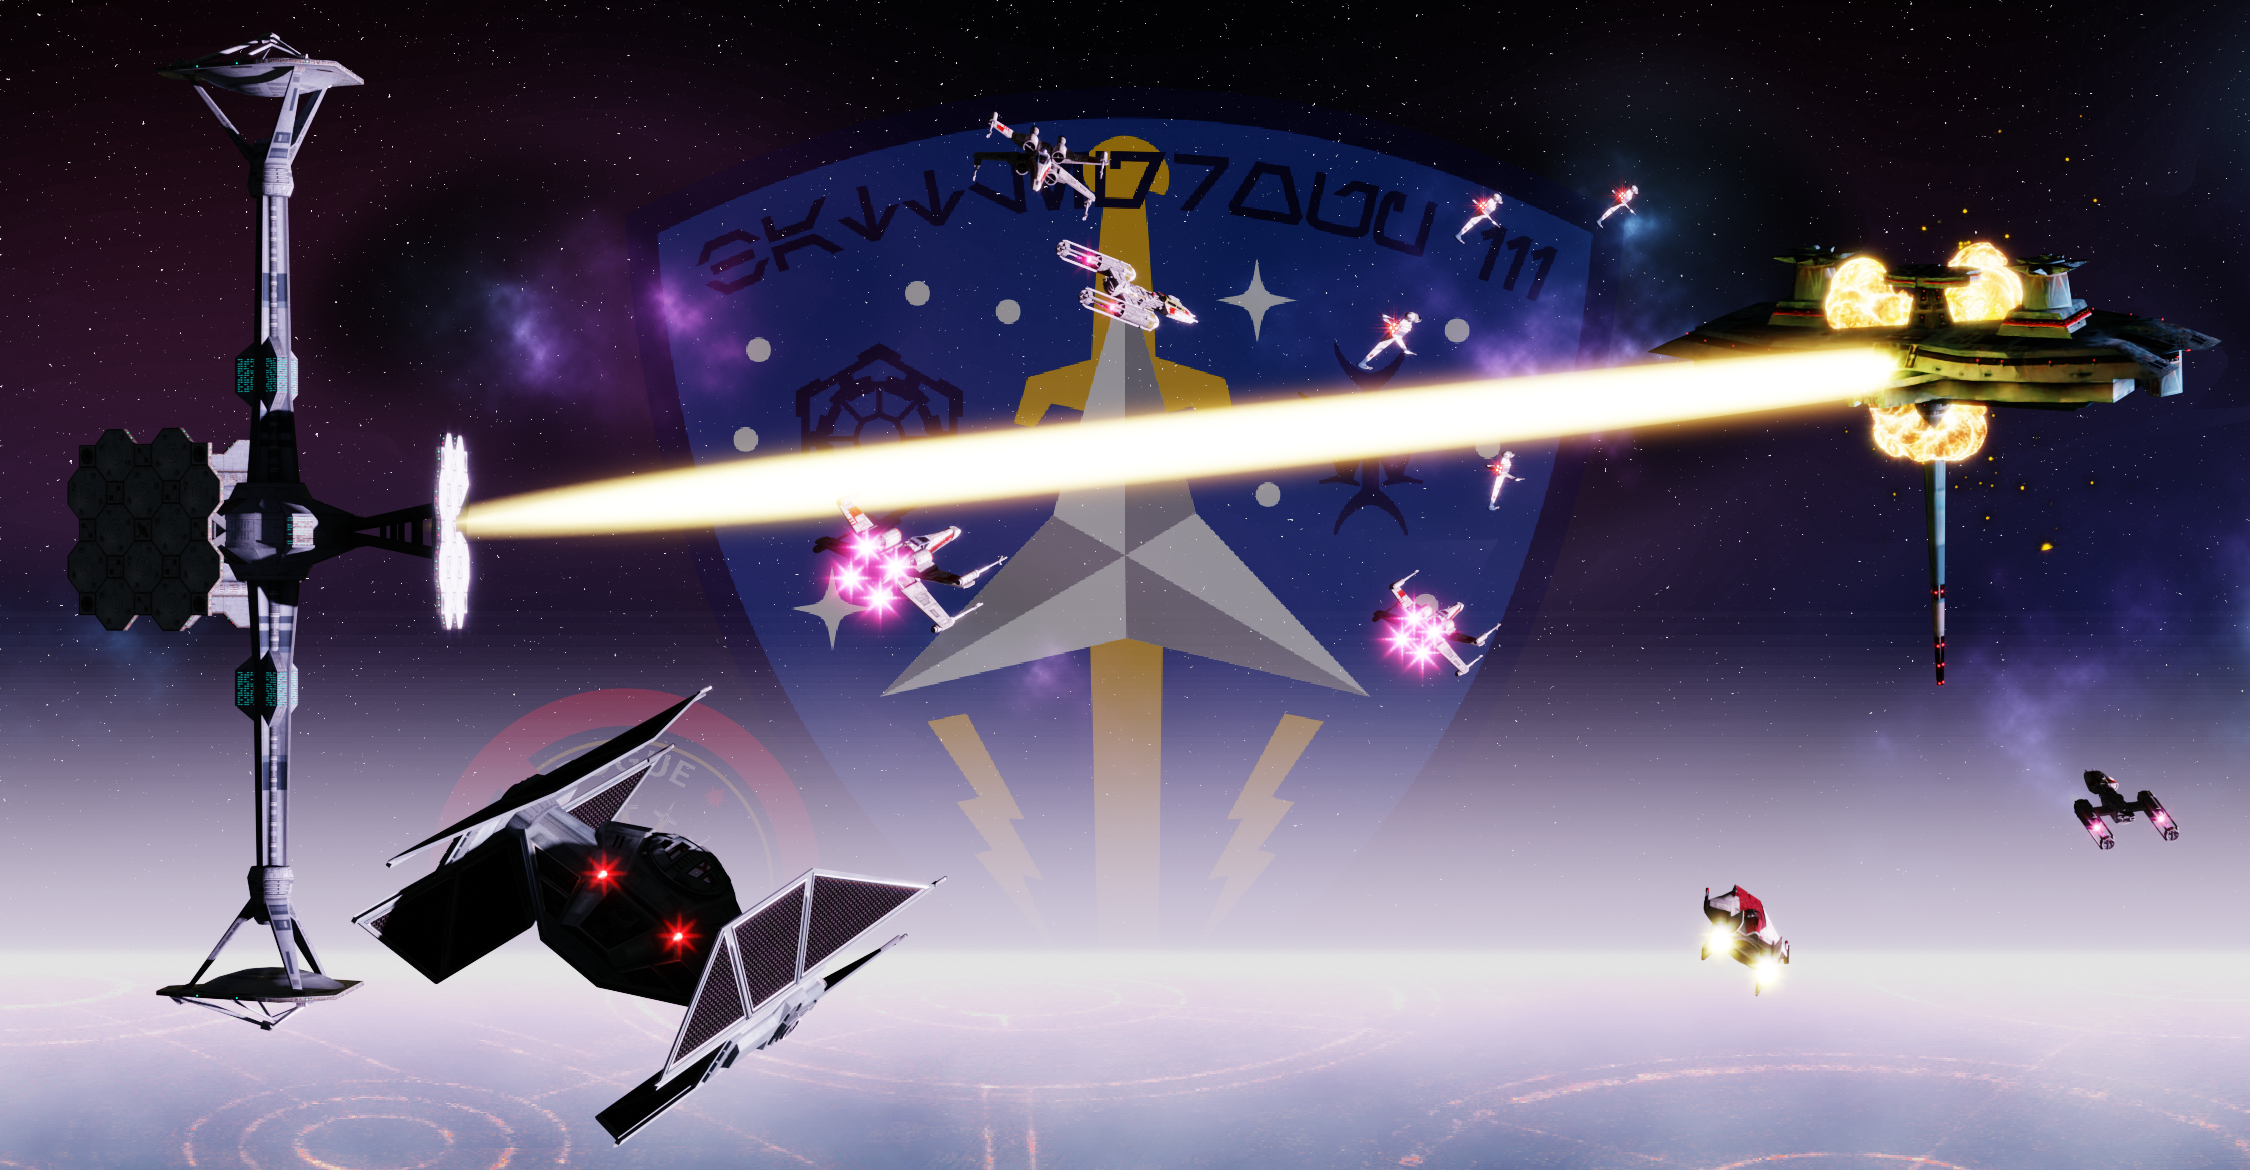
TFTC-TC 1: Anti-Rogue Squadron: Battle for Coruscant
General Information[edit]
Title: Anti-Rogue Squadron: Battle for Coruscant
Number of Missions: 9
Original Upload Date: 2024-04-30
Author: Jagged Fell III
Readme Background[edit]
The Expanded Universe has held a special place in many of our hearts and minds, me especially. One of my favorite book series was the X-Wing Series by Michael A Stackpole and Aaron Allston. It was these stories that motivated me to pick up X-Wing Alliance back in the early 2000's. I previously released versions of this battle as two separate XWA battles XWA-TC 70 and XWA-TC 71. Here I am setting out to make an upgraded version of this campaign using the assets of the TFTC/XWAU mod. The baseline missions are the same between this battle and the previous two but this battle makes use of the better visuals of TFTC/XWAU and the ability to have larger fleet battles and adds a mission.
This battle is based upon the story laid out in the books X-Wing: Rogue Squadron and X-Wing: Wedge's Gamble by Michael A Stackpole. Here is a bit of the story in case you have not read the books.
Wedge Antilles, veteran of both Death Star attacks, hero of the Rebellion, has set out to reform Rogue Squadron with the aid of fellow Death Star II veteran Tycho Celchu. The group of pilots he has assembled contains Gavin Darklighter and Corran Horn, who will soon go on to be legends of their own in the Expanded Universe.
But what if Ysanne Isard had convinced the Emperor’s Hammer to battle against the Rebels rather than trying to do it herself?
Script[edit]
Mission 1: Captured Smuggler[edit]
Commander's Briefing[edit]
Ysanne Isard has reached out to the Emperor's Hammer for aid in destroying the Rebellion that killed our beloved Emperor.
Even though High Admiral Plif has his reservations about committing the Emperor's Hammer's forces to aid a lowly Intelligence officer who seized power after the Emperor's death, he cannot abide the continued existence of the criminals who took our glorious leader from us.
High Admiral Plif has tasked Battlegroup III, under the command of Admiral Stryker, with the duty to support Isard in her quest to root out the rebel scum.
Isard's first mission is to support the interdiction of smugglers with known rebel ties.
The Star Destroyer Challenge and the MC90 Mon Calamari Starcruiser Renegade have been deployed to the Rachuk System to support Imperial Admiral Devlia's operations.
I will now turn this briefing over to Lieutenant Colonel Elara for your detailed brief.
Tactical Briefing Text[edit]
You are a member of Typhoon Squadron, “The Storm From Hell”
Typhoon Squadron is a part of Wing X “The Dark Whisper” currently assigned to the Imperial II Class Star Destroyer Challenge
The [SDII Challenge is currently assisting the Empire under Ysanne Isard, who has detailed you to Admiral Devlia in the Rachuk System
The Interdictor Cruiser Black Asp under Admiral Devlia’s command has trapped a smuggler ship with known rebel ties in the Chorax System
The Pulsar Skate is captained by Mirax Terrik, a childhood friend of Rebel Squadron Commander Wedge Antilles of Rogue Squadron
Travel to the Chorax System and disable the Pulsar Skate before the rebels can mount a rescue operation
If the rebels do mount an operation to free the smuggler, show them the truth of our motto “Strength to Rise; Power to Fly”
Once the smuggler is disabled and all possible reinforcements have been dealt with, return to the Rachuk System and the Challenge for debriefing.
Radio Messages[edit]
<AD Stryker> Go to the Chorax System and capture the smuggler Mirax Terrik. If any other Rebels come to her rescue, show them no mercy
<GN La'an> 12 Rebel X-wings just entered the system!
<COL Boliv> I see them, let's focus on the ones attacking the Black Asp first!
<Devlia> Do not attack the shuttle. I want the Rebels to witness the destruction of Rogue Squadron!
<SL XateEsix> Colonel, those orders don't make any sense!
<COL Boliv> Nevertheless, we will follow our orders
<GN La'an> The smuggler ship is disabled. Let's focus on the remaining fighters now
<GN La'an> All the fighters are destroyed! Let's get that smuggler ship disabled and complete our mission
<AD Stryker> The Black Asp has taken too much damage and is withdrawing. Cover its exit!
<COL Boliv>The interdictor has left the system, we have to disable that smuggler before they make it to the hyperspace exit point!
<Devlia> Captain, bring the Black Asp back to Rachuck immediately!
<Iillor> Admiral, the Rebel shuttle has picked up many of the downed rebel pilots. If we leave the shuttle will escape!
<Devlia> Captain, do as you are told!
<AD Stryker> Good work Typhoon Squadron. The rebels escaped but you followed your orders. We have captured the Pulsar Skate and we will examine it for any evidence of the location of the rebel's base in this sector
Victory Briefing[edit]
Admiral Devlia's order for the Black Asp to power down and retreat from the Chorax System allowed nearly all the members of Rogue Squadron to escape on the shuttle he also ordered to be left alone. The admiral's reasoning is baffling, but you followed your training and complied with your orders as is expected of a member of the Emperor's Hammer. The continued survival of the criminal organization calling themselves the New Republic makes more sense now that we see the kinds of decisions that the Empire's leaders are making. They value fear and symbolism above achieving their military objective.
However, the New Republic has been dealt a serious blow to morale with the wholesale defeat of their premier fighter squadron, and those responsible for the destruction of the Death Star and our adored Emperor have experienced our disdain.
The rebels will likely try to hide the defeat of their prized unit as it would show them for the sham that they truly are. We expect them to field the squadron using new ships as soon as they can, but we in the Emperor's Hammer know the truth, their best was no match for our training and skill. When those felonious rebels come up against us next, they will be destroyed again.
The capture of the smuggler ship, Pulsar Skate, has allowed our technicians to start searching it for clues to the whereabouts of the Rebel base in this sector. No doubt that without our timely intervention the rebels would have succeeded in at the very least driving off the Imperial Interdictor, Black Asp.
Strength to Rise; Power to Fly!
Mission 2: Trapped Spy[edit]
Commander's Briefing[edit]
Word has reached Imperial Intelligence of a possible disguised Rebel frigate in the Hensara System. I know that Admiral Devlia’s decision to allow the pilots of Rogue Squadron to escape is still a topic of much discussion among the different flight groups. That stops now. We are not anarchists like the Rebels, nor are we some fresh new recruits without discipline. We are the Emperor’s Hammer and we follow our orders, without question.
The best intelligence that the Empire has is that a modified Imperial Customs frigate was heavily damaged and forced to land on a jungle planet within the Hensara System. They have brought in a support ship and made repairs to the frigate but it has not made it out of the gravity well of the planet yet and cannot jump to lightspeed.
Travel to the Hensara System and destroy the Rebel frigate and any support ship in the system. If there is a fighter escort you may destroy them or ignore them as you see fit, our target is only the capital ships making their escape.
Here is Lieutenant Colonel Denys Elara who will conduct the detailed portion of this briefing.
Tactical Briefing Text[edit]
You will continue to be flying in TIE Defenders in a full flight of four craft.
The ISDII Challenge, and its escort ship the MC90 Renegade, are still stationed in the Rachuk System reporting to Imperial Admiral Devlia.
Imperial Intelligence has learned of a Rebel spy ship, a frigate, which was forced to land on a remote planet in the Hensara System.
The rebels have sent a corvette with repair specialists to get the frigate flying again.
You will lead One Flight of Typhoon Squadron to the Hensara System and destroy both the Rebel frigate and the corvette.
The rebels will likely have sent a fighter escort for both capital ships.
It is not mission critical to destroy the fighters only the capital ships.
Once both capital ships are destroyed, return to the Challenge for debriefing.
If needed, you may call for Two Flight of Typhoon Squadron, flying Missile Boats as reinforcements. They will focus on the capital ships first before engaging with the fighter escort.
Radio Messages[edit]
<AD Stryker> Go to the Hensara System and destroy the Rebel frigate and any supporting capital ships Any fighter escort may be dealt with at your discretion
<COL Boliv> The frigate is deep in the planet's gravity well. Destroy the corvette and then go for the frigate
<Devlia> Do not attack the Pulsar Skate. I want the Rebels to witness your victory over Rogue Squadron!
<SL XateEsix> Again?! Again?!
<COL Boliv> Cut the chatter, we follow our orders in the TIE Corps
<GN Lan'an> One down! One to Go!
<AD Stryker> Good work Typhoon Squadron. You followed your orders, and the Pulsar Skate escaped. Return to the Challenge for debriefing
<GN Master> Crikey! Look at the size of that space emu!
<COL Boliv> Come on Master! Be a little serious. We are in the middle of a battle
<GN Master> But Colonel, space emus are real and very dangerous!
<COL Boliv> I knew I was going to regret calling your flight in...
<GN Lan'an> It seems the smuggler got a new ship
Victory Briefing[edit]
You once again showed the superiority of the might and training of the Emperor's Hammer with your defeat of the Rebellion's most lauded squadron. You performed well and removed those capital ships from their service to the criminals who think they can undo all the accomplishments of the Empire our Lord, Palpatine, built.
Again, the local Imperial Admiral Devlia ordered us to not pursue a total victory over the Rebel forces, much to our frustration, but you did your duty and obeyed the orders you were given. You have upheld the highest principle of the Emperor's Hammer and are to be commended.
All hope of destroying Rogue Squadron may not be lost however. The Imperial Intelligence agent Ysanne Isard assigned to this operation, a man named Kirtan Loor, has indicated that he believes he can find the base from which the renegades have been deploying. He proposes to use the wreckage from the ships you destroyed and the trails of ionized fuel left by the ships that entered the atmosphere of the planet to find the system in which they are currently hiding. We can only hope that Agent Loor is correct and that the Imperial command staff will permit us to finally bring about the end of these disgraceful Rogues.
"Storm is our business, destruction is our target, fear is our ally."
Mission 3: Rebel Base[edit]
Commander's Briefing[edit]
The Imperial Intelligence Agent Kirtan Loor believes he has deduced the location of the rebels' base of operations in this sector. He states that while the R2 units within the rebel fighters all deleted their navigation records just prior to their fighters’ destruction, he was able to collect pollen and other local flora samples from the wreckage of the downed ships, but due to exposure to vacuum and solar radiation their DNA has degraded to the point that the analysis droids could not locate the system of origin.
No matter, he asserts that he was able to pull the hyperspace exit vector from the Black Asp’s data recordings, and combine that with the records from the downed fighters, and the ionized fuel vapors left in Hensara’s atmosphere to determine the range that Rogue Squadron had traveled to the Hensara system, and when that information was combined with the hyperspace information of the Chorax interdictor incident the possible locations of the rebel base was narrowed down to just a handful of locations.
He then contends that the rebels' propensity for using locations with historical significance cannot be overlooked as they seem to desire to claim legitimacy from these old sites that they do not feel they have in their own right. That analysis reduced the possible systems to just one, the Talasea System.
Admiral Devlia, does not agree in Agent Loor’s analysis and assessment, and is unwilling to commit significant forces to the investigation of the Talasea System on such thin evidence. He has authorized Typhoon Flight 1 to scout for the base, and if found, call for a squadron of TIE Bombers to assist in its destruction. In this event, the base will likely launch starfighters in an attempt to destroy the attacking bombers. Do what you can to protect the Bombers, but your first priority will be to obliterate their base of operations.
You may also request the rest of Typhoon Squadron join you in your assault of the Rebel Base.
Now Lieutenant Colonel Denys Elara will perform the detailed briefing for this operation.
Tactical Briefing Text[edit]
Battlegroup III is still supporting Admiral Devlia in the Rachuk System.
Admiral Devlia has agreed to send a squadron of TIE Bombers to attack the Rebel Base if you find it in the Talasea System.
Search the Talasea System for any sign of the Rebel Base. If you find a base, destroy it with the help of the TIE Bombers.
The Rebel Base will likely launch fighters to defend itself, protect the TIE Bombers if you can but destroy that base at all costs.
At any time in the Talasea System you can call for the rest of Typhoon Squadron to join your attack.
Radio Messages[edit]
<AD Stryker> Go to the Talasea System and search for the Rebel Base. If found, call for the bombers to come assist in its destruction. Remember that you may also call for the rest of Typhoon Squadron to come assist in the attack as well
<COL Boliv> We have found the rebel base, send the TIE Bombers
<GN La'an> The Pulsar Skate launched from the base but then immediately escaped. We will get that smuggler one day
<COL Boliv> Typhoon Squadron, the rebel fighters are trying to intercept the TIE Bombers. Protect the Bombers if you can but ensure that base is destroyed
<GN Lan'an> All the fighters are now destroyed. Let's focus our attacks on the rebel base
<GN Lan'an> Shuttles are launching from the rebel base!
<GN Lan'an> The Shuttles escaped into hyperspace. These criminals continue to slip through our grasp
<AD Stryker> You have successfully destroyed the Rebel base. Return to the Challenge for debriefing
<COL Boliv> I know, I know Master. That is one big Space Emu
<GN Master> What are you talking about, Colonel? That isn't a Space Emu. It is a Space Roo.
<COL Boliv> Why do I put up with you?
<GN Master> Because you love me, Colonel. Because you love me
Victory Briefing[edit]
You destroyed the insurgents base of operations and have likely severely hampered the rebels' activities and plans for this sector. Several ships escaped the base as it was being destroyed and many of the rebel fighter pilots were picked up and escaped before Imperial forces were able to secure the area. If only Admiral Devlia had committed the full resources of this command to the operation to Talasea, we could have destroyed them all.
No doubt that after three engagements with Rogue Squadron, in which you showed your derision for their so-called skill in combat, several of their number have died or been permanently injured by being forced to eject from their stricken starcraft.
We are beginning to hear rumors that the Rebels have realized this sector is too well defended, and are turning their attention to another potential staging point for their stated goal of attacking Imperial Center itself. If they do attack the Emperor's Hammer will be there to turn their blow and crush them for you are "The Storm From Hell."
Mission 4: Defense of Borleias[edit]
Commander's Briefing[edit]
Director Ysanne Isard has learned through a spy within the Rebel Alliance that they are planning a large-scale assault on an Imperial world, Borleias. If they were to capture Borleias they would be in position to strike at Imperial Center directly. This is unacceptable.
We have devised a plan to ambush the rebel fleet and destroy their capital ships. You will lead Typhoon Flight 1 in the defense of the Borleias Command platform, the initial target of the rebel attack. The Imperial commander of Borleias, General Derricote, has assigned flights of TIE Fighters, TIE Interceptors, and TIE Bombers to aid you in the defense of the station. It will be your role to signal when the rest of Battlegroup III is to enter into the system and trap the Rebels. You are to wait until their forces are well committed and then radio for the Battlegroup to begin entering. We have called up some of the reserve pilots for today's mission.
Upon your signal the Battlegroup will begin to enter in phases. First, the rest of the active squadrons of Wing X will jump into the system and begin helping to clear the fighter escort and shortly afterwards our capital forces will enter with the rest of our fighter complement.
Lieutenant Colonel Denys Elara will now give a more detailed description of the battle plan.
Tactical Briefing Text[edit]
You will lead the First Flight element of Typhoon Squadron in the defense of Borleias Command platform.
Several additional flights of TIE craft have been assigned to assist you in your defense task.
Once the Rebel Fleet enters the system, destroy any fighters that launch from the rebel ships.
You are to signal when to have Battlegroup III start to enter the system to destroy the enemy.
Radio Messages[edit]
<Derricote> Long range scanners indicate the Rebels are about to exit hyperspace. Engage their fighter escort until you feel the time is right and then call for your fleet to come and destroy them
<AD Stryker> Good work Typhoon Squadron. You can leave the rest to us
<AD Stryker> All the rebel capital ships are destroyed. Excellent work Typhoon Squadron. Return to Borleias Command for debriefing
<COL Boliv> The rebels are launching fighters, be prepared
<GN Lan'an> Colonel, that is A LOT of rebel fighters. Do you think we should call in the rest of the Wing?
<COL Boliv> But you know what Master will say
<GN Lan'an> I'll gladly hear about space emus in return for some help against all these rebels
<GN Master> Do you all see those...
<LC Elara> General Master, I will remind you of the comm discipline that is expected of the pilots in the Emperor's Hammer
<GN Master> But Space Emus are dangerous
<LC Elara> Master, I said to...<a loud roaring sound interrupts the message>
<GN Master> Was that a Rancor I heard Lieutenant Colonel Elara?
<LC Elara> I'll get you for this one day Master
<GN Master> What!? I am innocent, I swear
Victory Briefing[edit]
Through your efforts we have succeeded in dealing the Rebellion a serious blow and have likely set back their plans of attacking the Imperial Center by months, if not years. Your flying, and above all else, strict adherence to the orders of the commanders placed over you have been a credit to all of the Fleet.
Several shuttle craft escaped the dying rebel ships and escaped back into hyperspace. Likely any survivors of Rogue Squadron from your initial assault that had been picked up by the various ships escaped on those shuttles but their skill has been shown time and again to be no match for the skill of the pilots of the Emperor's Hammer.
We will continue to support Isard's efforts to beat back the New Republic's attempts to capture Coruscant and plan to set up here in the Borleias system for the next few weeks. Based on the ineptitude we have seen, the Empire under Ysanne Isard will continue to be needing our assistance.
"May the winds blow till they have waken'd death."
Mission 5: Ambush[edit]
Commander's Briefing[edit]
We are nearly finished here in the Borleias System and will soon be moving our staging system elsewhere. However, we have received urgent intelligence that Bror Jace, a top ace member of Rogue Squadron, will be traveling through Lolnar System on his way to his home of Thyferra. Director Isard has asked for our assistance in capturing him, but wishes our involvement to remain hidden in this situation. She has directed that only one pilot from the TIE Corps be detailed to this mission and that they be flying in an ostensibly Imperial Starfighter.
Wing Commander Elara has assigned this mission to you, General Master. You will be flying in an unshielded TIE Interceptor in conjunction with the Imperial Interdictor Cruiser Black Asp. Your Interceptor has been modified with a reinforced hull that will give you more protection than a normal Interceptor, but you will not have a recharging shield to protect you today, so fly carefully out there. In addition, your fighter has an upgraded sensor package that will allow you to identify your target without the need to closely approach them.
Lieutenant Commander Elara will now run over the final details of today's operations with you General.
Tactical Briefing Text[edit]
General Master, you will fly your modified, unshielded, TIE Interceptor over to the Interdictor Cruiser Black Asp to be carried to the Lolnar System.
You will lie in wait in a nearby asteroid while the Black Asp will retreat to the edges of the system to wait for the appearance of Bror Jace, your quarry for today.
Once Jace enters into the system you will remain in cover of the asteroid while you coordinate with the Black Asp on when to spring your trap.
Once ordered to, attack Jace and force him to eject from his fighter so that he can be picked up by an Assault Transport from the Black Asp.
If there are any other targets in the area, follow the Black Asp’s orders on how they should be dealt with.
Please remember that the Interceptor does not have a shield generator or hyperdrive so fly carefully as we don’t want you coming back to us looking like you were mauled by a Rancor now do we.
Radio Messages[edit]
<Iillor> Typhoon 2 - 2, proceed into the hollowed out asteroid until you are in range of the sensor disruptor in the middle
This is so dumb. Why did Elara make me do this in a stupid TIE Interceptor?
<Iillor> Alright, you have disappeared off our sensors. Stay in cover until we order the attack. Once you spot Jace, radio his location to us so that we can be in a position to trap him, and anyone he is meeting with in system while you destroy them
I should go down this tunnel until I can see out the far side. But got to make sure I don't drift too far from that beacon
This is so boring. What did I ever do to her to deserve this? Yes I messed with her radio, and Eagle Squadron's ready room, and the brass hats' mess, but can't they take a joke?
Finally, some action
<GN Master> Black Asp, I have Bror Jace in my sights, can I take him out now?
<Iillor> Is he alone? What is he doing? Are you in position for your attack?
<GN Master> Looks like he has 2 old M3-A Scyk fighters as escort. And it looks like he is about to rendezvous with a YT-1300 freighter
<Iillor> Wait a moment while we radio to Coruscant to ask what Director Isard wants
This delay is stupid. I am going to have to destroy them all anyway to hide Jace's capture. Why wait for orders? We already know what Isard wants
<Iillor> Coruscant clears you for your attack. Jumping in now
<GN Master> The freighter is destroyed and Jace is in an escape pod. Send someone to pick him up
<Iillor> General Master, we still had the gravity well generators running and a complement of rebel fighters just got pulled into system. Protect the transport picking up Jace until it can get back to the Black Asp. Once it is back aboard and we have Jace we can leave the system. Protect us until then
Why couldn't they have just turned off the kriffing gravity well generators?!
<Iillor> General, we have Jace in confinement aboard. Get back to the Black Asp and we will leave the system
Victory Briefing[edit]
Good job today General Master. You managed to capture Jace and destroy those he was meeting with. After returning you to the Challenge here in the Borleias System, the Black Asp carried him to Director Isard on Coruscant. Undoubtedly he will soon be transferred to Isard's Lusankya prison facility for intense interrogation. He may even one day be released as a sleeper agent from Lusankya. Your excellent flying today allowed for his quiet capture and he is only listed as missing by the New Republic.
Commander Elara and I hope that you did not mind being forced to fly in an unshielded craft today.
Mission 6: Covert Recon[edit]
Commander's Briefing[edit]
We have moved to our new staging system of the Alsakan System, just a short hyperspace jump from Coruscant. Both the ISDII Challenge and the MC90 Renegade are here while the rest of our larger Battlegroup have returned to Emperor's Hammer space for other operations.
Director Isard has reached out to us about reports that Imperial Intelligence has had of rebel forces amassing in the Chandrila System, and we have been assigned the task of covertly scouting the system.
A specially configured light freighter and a single escorting fighter will scout the Chandrila System and assess the rebel forces there.
In the absence of an assigned Wing Commander for Wing XXII, Wing Commander Elara, of Wing X, will deliver the detailed briefing for today's mission.
Tactical Briefing Text[edit]
We have been assigned the task of escorting the heavily modified YT-2000 Light Freighter, Rebel's Dream, to the Chandrila System.
The freighter's modifications for its intelligence gathering mission have stripped it of defensive weapons and limited its top speed to 50 Mega Light Units. It will be up to its escorting fighter to provide the protection that the Rebel's Dream needs.
Due to the desire to limit the possibility of detection by the enemy, command has dictated that only a single, rebel make, fighter will be sent as escort.
We could think of no one better suited to this dangerous task than you, Lieutenant Commander Baron Vanguard88, the TIE Corps Commander’s own wingman.
You will be flying your normal A-wing fighter loaded with Advanced Concussion Missiles, just in case the scouting mission becomes compromised.
To hide the location of our forces in the event of a mission compromise, you will rendezvous with the freighter in the Albecus System, just outside Chandrila and you will precede the freighter into the system to limit your association with it.
The Rebel's Dream will use its equipment to tap into the rebel’s network and try to access their main computer. While you, Baron, will inspect any fixed facilities and capital ships the rebels have stationed there.
Hopefully, the Rebel's Dream can complete its mission and leave the system without detection, but if the rebels attempt to stop her, it will fall to you to ensure that the freighter makes it back to the Fleet.
You are not to travel back to the fleet directly but through the Adamastor System to further confuse the enemy. Do not allow any witnesses to see the hyperspace entry vector the freighter and you will take back to the Fleet.
Radio Messages[edit]
<AD Stryker> Good luck out there, Baron, and keep the spy ship safe
<LCM Vangard88> Thank you, sir, I will
<LCM Vangard88> Rebel's Dream, this is Firebird 3-3. I am here to escort you on your mission
<Rebel's Dream> FINALLY. We have been waiting for over 10 minutes
<Rebel's Dream> I am none too comfortable that we only have you as our escort. You better not mess this operation up. It is going to be how I finally get noticed and transferred to the Sovereign
<LCM Vangard88> I'll see you on the other side Rebel's Dream
<LCM Vangard88> Chandrila Area Control, this is A-Wing 243, I am transferring into the local garrison. Sending my authorization codes over now
<Chandrila> Acknowledged, A-Wing 243. Checking your codes now everything looks to be in-order. Welcome to Chandrila
<LCM Vangard88> Thank you, Chandrila Control. As I am new here, I would like to take a look around to familiarize myself with the area
<Chandrila> A-Wing 243, you are authorized to proceed where you wish and make unlimited passes within the area. Just try not to run into anything
<LCM Vangard88> Roger that Chandrila Control
<Chandrila> All local forces, destroy A-Wing 243. He has either gone rogue or is an imperial agent
<Rebel's Dream> What did you do?!
<Chandrila> Unknown freighter, please identify yourself
<Rebel's Dream> Right...ah...we are the...Rebel's Team, no Dream
<Chandrila> Where are you from Rebel's Dream and why are you here in Chandrila?
<Rebel's Dream> Ah...we are out of...ah...Mon Calamari, no Mon Cala. And we are here to take on fuel
<Chandrila> Please transmit your authorization code immediately
<Rebel's Dream> Code...right...they're on their way now
<Chandrila> Your code checks out but please respond to the Challenge of the Day, The Emperor is Dead
<Rebel's Dream> Challenge?...Ah...Long live the Jedi?
<Chandrila> Freighter squawking as Rebel's Dream, halt where you are and power down your engines for boarding, immediately. If you do not comply, we will open fire
<LCM Vanguard88> Get into hyperspace, I got this
<Rebel's Dream> <Alarm sounds in background> Glad we got out of that back there. That quick jump did something to our hyperdrive. We need a few minutes to make repairs
<Rebel's Dream> Protect us Baron, we are still making repairs
<Rebel's Dream> <Alarm sounds in background> Where have you been! Our hyperdrive isn't working. Get these fighters off of us so that we can make repairs
<Rebel's Dream> Hyperdrive repairs finished, heading to the Fleet now, thanks for all that you did
<AD Stryker> Good work today, Lieutenant Commander. Report to the briefing room for your debriefing
<Pirates> Look at what we have here boys…GET 'EM!
<Rebels> You're not getting away from us that easy!
Victory Briefing[edit]
Good work, Baron. You successfully protected the modified freighter while it completed its mission.
The intelligence that you gathered points to Chandrila being the rebels' new staging point for their push to capture Coruscant. The buildup of so much infrastructure and the presence of that number of capital ships, along with Chandrila's location on a major hyperspace lane, makes it unlikely that they would have another staging point, although the absence of their flagship is troubling.
Either way, this staging point cannot be allowed to remain, and will have to be dealt with. Command will now proceed to formulate an attack plan for the Rebel forces in Chandrila.
You are dismissed.
Mission 7: Kessel Run[edit]
Commander's Briefing[edit]
Director Ysanne Isard has revealed that she has a spy within the rebel group Rogue Squadron. Her spy has disclosed that the rebels' plan, strangely enough, involves the smuggling of members of the Black Sun into Coruscant. This is in an effort to destabilize the Imperial regime from within, while they attack from without.
Their plan shows how morally bankrupt the rebellion is, and the truth that they are no more than criminals themselves.
Command has determined that this will be the perfect opportunity to strike, but not at just one target. We will stage two simultaneous operations.
In the first, Wing XXII and the MC90 Renegade will ambush the rebel forces attempting to liberate the Black Sun from Kessel. The prisoners on Kessel staged an uprising not too long ago and this will be the perfect time to bring the prison back under Imperial control.
In the second operation, Wing X and the ISDII Challenge, supported now by the Emperor's Hammer's own Interdictor Cruiser, Fairchild, will perform a surprise attack on the Chandrila staging area. The Challenge and Fairchild will trap the rebel forces in system, and Wing X will assist in destroying all the rebels there.
Now, here is Lieutenant Colonel Denys Elara to brief you all on the Kessel operation.
Tactical Briefing Text[edit]
The rebel forces in the area are likely not extensive, as per the spy's information they are hoping for a quick surgical strike. They likely will have destroyed most, if not all, of Moruth Doole's fixed defensive emplacements.
But the main Kessel prison facility might still be able to send up fighters to oppose our operation. You, Colonel Miles Prower, will be leading Eagle Squadron and flying your normally assigned X-Wing for the operation.
We will launch all fighters and form up our attack prior to performing our final jump into the Kessel System to allow for the greatest possible level of attack the moment we exit hyperspace.
You are to eliminate all hostile fighters in the area and disable all rebel transports and the main prison facility.
As none of the craft on this mission are normally armed with ion cannons, you will be outfitted with Ion Pulses for this assault to enable you to disable your targets.
You will likely need to return to the Renegade to rearm with more Ion Pulses to be able to disable all targets
Once you have disabled your targets, troop transports will launch from the Renegade to capture all disabled vessels and the prison itself. Protect the troop transports from any attack until they complete their boarding operations.
In the event that Wing XXII were to experience unacceptable losses, we have temporarily mobilized some of the Reserves to field an additional two squadrons of reinforcements
If during the mission Wing XXII strength falls below an effective strength of 25%, then you may request the Reserve Squadrons to be deployed.
Once they have captured the rebel transports, our troops will take the transports to a waiting Imperial Security Bureau detention facility to gather what intelligence they can from the prisoners and rebel agents.
Once all enemy fighters have been destroyed and the targets captured, return to the Renegade for debriefing.
As Wing XXII does not currently have a Wing Commander assigned, and nor does the Renegade have a Commodore, I will be traveling aboard the Renegade on this operation to fill the Command and Control role.
Radio Messages[edit]
<COL Setzer> Ok, let’s go destroy these Rebels. At least we get to take out their main base, have fun in the Maw Wing XXII
<COL Prower> Colonel Locke, I thought you were from Coruscant? Where is your proper Coruscanti accent?
<COL Setzer> Huh?...Miles?...What?...
<LT Prower> What was that back there? What are you doing with your voice?
<COL Prower> What do you mean? This is how I always sound.
<LT Prower> Miles, unless you want to sleep on the couch tonight you will knock that off!
<COL Prower> Alright. Alright. I was just having a bit of fun.
<LT Prower> Honestly...
<LCM Vanguard88> The rebel transports are starting to leave Kessel. I estimate that each one will only take 4 minutes to get to their hyperspace exit point after they start.
<COL Prower> You worry about those fighters, Baron. I'll handle those transports.
<LT Prower> Miles, I know you're the squadron commander and all. But, can you please clean up the quarters in the mornings?
<COL Prower> Come on Maria, you know I had to get those reports done this morning. And I do help clean the quarters.
<LT Prower> Really? I had to ask you last week to clean the refresher three times before you did it.
<COL Prower> That's not a fair example! I was in the middle of a sabacc game with Xylo, Cupcake, and SirCaleb. And I did it as soon as I busted out, no thanks to you.
<LC Elara> Lieutenant Prower, Colonel Prower, I will remind you that we are in the middle of an operation. And that the Wing Wide radio channel is NOT the place to be discussing these things.
<COL Prower> Lighten up a little, Elara. I am beginning to see what General Master means about you.
<LCM Vanguard88> The last rebel transport has left Kessel. Again I estimate that we have less than 4 minutes to get them all disabled before they escape into hyperspace.
<COL Prower> Understood. I am on it.
<LC Elara> We are beginning to launch the Assault Transports. Colonel Prower, make sure to protect them while they complete their missions. They must all make it back to the Renegade after they have captured their targets.
<LC Elara> Colonel Prower, Wing XXII has taken extreme losses. I am authorizing you to call for reinforcements now.
<LC Elara> All rebel transports have been captured. Finish off the enemy fighters and recapture the main prison facility
<LC Elara> All rebel transports have been captured and all fighters are destroyed. Now recapture the main prison facility.
<LC Elara> All rebel transports and the main prison facility have been captured. Now finish off all remaining enemy fighters.
<LC Elara> Good work Wing XXII, and especially good work Colonel Prower. Please return to the Renegade for debriefing.
<LC Elara> All enemy fighters have been destroyed. Capture the rebel transports before they escape into hyperspace, and then recapture the main prison facility.
<LC Elara> All enemy fighters are destroyed and the main prison facility is under Imperial control. Capture the rebel transports before they escape into hyperspace.
<LC Elara> The main prison facility is back under Imperial control. Capture the rebel transports before they escape into hyperspace and destroy all remaining enemy fighters.
<LC Elara> All transports are now disabled
<LC Elara> We are launching Owl Squadron to assist in disabling any remaining targets
Victory Briefing[edit]
You successfully recaptured the Kessel prison facility and the criminal scum the Rebellion was attempting to let loose on the galaxy once again.
Of the worst of the worst that the rebels tried to free were Zekka Thyne and former Imperial Moff Fliry Vorru. Thyne had interesting information on one of the new Rogue Squadron pilots. A man named Coran Horn, formerly of Corellian Security Force. Agent Kirtan Loor, of Imperial Intelligence, was very keen to learn anything he could of the current status of Horn. We gather Agent Loor and this Horn have a history together.
Moff Vorru had more useful information for the Imperial Security Bureau. Director Isard has ordered his immediate transfer to her Lusankya facility to continue his questioning.
The battle at Chandrila is still ongoing but seems to be well in hand.
Mission 8: Assault on Chandrila[edit]
Commander's Briefing[edit]
Director Ysanne Isard has revealed that she has a spy within the rebel group Rogue Squadron. Her spy has disclosed that the rebels' plan, strangely enough, involves the smuggling of members of the Black Sun into Coruscant. This is in an effort to destabilize the Imperial regime from within, while they attack from without.
Their plan shows how morally bankrupt the rebellion is, and the truth that they are no more than criminals themselves.
Command has determined that this will be the perfect opportunity to strike, but not at just one target. We will stage two simultaneous operations.
In the first, Wing XXII and the MC90 Renegade will ambush the rebel forces attempting to liberate the Black Sun from Kessel. The prisoners on Kessel staged an uprising not too long ago and this will be the perfect time to bring the prison back under Imperial control.
In the second operation, Wing X and the ISDII Challenge, supported by now by the Emperor's Hammer's own Interdictor Cruiser, Fairchild, will perform a surprise attack on the Chandrila staging area. The Challenge and Fairchild will trap the rebel forces in system, and Wing X will assist in destroying all the rebels there.
Now, here is Lieutenant Colonel Denys Elara to brief you all on the Chandrila operation.
Tactical Briefing Text[edit]
While the rebel forces in the Chandrila System are likely to be sizable, it is believed that the Rebels' premier fighter squadrons will be occupied in the Kessel operation and all the forces left in system will be relatively green units.
You, Major Colo Delste, will be leading Tempest Squadron and this assault. All of Tempest Squadron will be flying a TIE Defender for the operation.
We will launch all fighters and form up our attack prior to performing our final jump into the Chandrila System to allow for the greatest possible level of shock and awe in our attack.
You are to eliminate all hostile fighters in the area and destroy all rebel capital ships and infrastructure in the area. You will initially be armed with advanced concussion missiles to aid in clearing out the rebel fighters.
But may return to the Challenge at any time to rearm with proton torpedoes or heavy rockets to assist in taking out the capital ships and fixed platforms.
In the event that Wing X were to experience unacceptable losses, we have temporarily mobilized some of the Reserves to field an additional two squadrons of reinforcements.
If during the mission Wing X strength falls below an effective strength of 25%, then you may request the Reserve Squadrons to be deployed.
Once all enemy fighters, capital ships, and fixed facilities have been destroyed, return to the Challenge for debriefing.
Radio Messages[edit]
<COL Setzer> Ok, let’s go destroy these Rebels. At least we get to take out their main base, have fun in the Maw Wing XXII
<COL Prower> Colonel Locke, I thought you were from Coruscant? Where is your proper Coruscanti accent?
<COL Setzer> Huh?...Miles?...What?...
<MAJ Delste> What was that? Colonel Setzer, why do people ask about your lack of accent? I am from Coruscant, but my accent isn't that strong either
<COL Setzer> I am from Coruscant, but don't have any Coruscanti accent, and never have. I think it is because I used to be closely associated with Darklord who did have a strong Coruscanti accent
<GN Master> Yeah, yeah, but do you all see how many Space Emus are out there?
<GN Boliv> Master, let's not get into your crazy talk today
<GN Master> GENERAL Boliv, don't let your shiny new stars distract you from what is important. We have before us a whole bunch of Space Emus and Space Roos. Now <slowly building static>
<GN Boliv> Elara and I worked with the hanger master to install an override into your fighter radio so she and I can turn you off whenever we feel the need. Keep that in mind for the future
<MAJ Delste> Anyway, let's focus on destroying these fighters and then start on the capital ships and facilities in the area
<AD Stryker> All the rebel fighters are now destroyed. Now focus on those Space Emus...
<GN Boliv> Admiral Stryker, really? I thought by muting Master I wouldn't have to hear about Space Emus and Roos anymore
<AD Stryker> It just slipped out. He must flood my emails with three Space Emu messages a day lately
<AD Stryker> Good job destroying that Space Emu...
<GN Boliv> Admiral Stryker, really? I thought by muting Master I wouldn't have to hear about Space Emus and Roos anymore
<AD Stryker> It just slipped out. He must flood my emails with three Space Emu messages a day lately
<AD Stryker> All rebel capital ships destroyed. Now get the rest of those fighters
<MAJ Delste> Ok, all rebel fighters and capital ships are gone, now to finish off the facilities in the area
<AD Stryker> Major Delste, Wing X has taken heavy losses. You may now call for the Reserves to come and reinforce your remaining fighters
<AD Stryker> Good job Wing X, and excellent work Major Delste. Return to the Challenge for debriefing
Victory Briefing[edit]
You achieved victory in the Chandrila System and destroyed the rebel forces staging there for an assault on Imperial Center.
It is still concerning to us in command that the few of the rebels' large capital ships were staging in system. As would normally have been expected if they were about to attack the heavily fortified Coruscant. But nevertheless, we dealt a significant blow to the criminals calling themselves the New Republic today.
With the recapture of the Kessel prison earlier today and the destruction of yet more ships sporting the Rogue Squadron insignia, we are sure that we have turned the blade of the rebels' assault on the galaxy's center of power.
Mission 9: Transport to Coruscant[edit]
Commander's Briefing[edit]
While the other two operations are underway, Director Isard has requested that we send a fighter to transport vital information from General Derricote's operation in the Borleias System to Imperial Center.
This is a milk run and therefore will be assigned to you, Lieutenant Commander Jagged Fell III, as you are one of the more junior members of the Battlegroup.
Here is Lieutenant Colonel Elara to brief you on what is expected of you today.
Tactical Briefing Text[edit]
You, LCM Fell, will fly your TIE Advanced fighter, Typhoon 3-1, to the Borleias System and dock with the command platform there.
Once you have picked up the classified information package that Isard has requested you will travel to Coruscant to deliver it to the Imperial Palace.
Once your mission is done, return to the Challenge. The Challenge will be in the Chandrila System after the pacification of the rebel forces there.
Radio Messages[edit]
<COL Setzer> Ok, let’s go destroy these Rebels. At least we get to take out their main base, have fun in the Maw Wing XXII
<COL Prower> Colonel Locke, I thought you were from Coruscant? Where is your proper Coruscanti accent?
<COL Setzer> Huh?...Miles?...What?...
<LCM Fell> Borleias Command, this is Typhoon 3-1. I am here to pick up a package for Director Isard
<Borleias> Acknowledged Typhoon 3-1, we have you on our access list. Proceed to dock with the Borleias Command Platform and pickup the package <Shift + D when close to platform>
<LCM Fell> Borleias Command, I have completed the pickup of the package
<Borleias> Acknowledged Typhoon 3-1, proceed to Coruscant immediately as Director Isard is waiting for this package
<Borleias> Typhoon 3-1, be advised that we have not been able to get through to Coruscant to report your pickup
<LCM Fell> What, the...Coruscant Defense, this is Typhoon 3-1 of the Emperor's Hammer ferrying a sensitive package for Director Isard. What is the situation here?
<Coruscant Defense> Typhoon 3-1, we have the situation well in-hand and will destroy these rebels when the rest of the fleet arrives. Stay back and out of the way
<Coruscant Defense> Typhoon 3-1, we have the situation in-hand and will destroy these rebels when the rest of the fleet arrives. However, the rebels seem to be attempting to capture the Orbital Solar Energy Transfer Satellites. Stop at least one of the assault transports and anymore that you are able to, but the loss of the OSETs will be of no real consequence
<Coruscant Defense> Typhoon 3-1, we have the situation in-hand and will destroy these rebels when the rest of the fleet arrive. However, the rebels seem to be attempting to capture the Orbital Solar Energy Transfer Satellites. Stop at least two of the assault transports and anymore that you are able to, but the loss of the OSETs will be of no real consequence
<LCM Fell> Rebel troop transport destroyed, attempting to stop the other transports now
<LCM Fell> One rebel troop transport destroyed, going after the next one now.
<LCM Fell> Two rebel troop transports destroyed, attempting to stop the other transports now
<Coruscant Defense> The rebels are turning the solar mirror of the captured OSET towards the defense platform...good, mother of<static>
<Coruscant Area Control> Typhoon 3-1 of the Emperor's Hammer Coruscant has fallen into the rebel's hands. Report back to your fleet and send assistance
<AD Stryker> Typhoon 3-1, you are here earlier than was expected and Coruscant did not send confirmation that you have completed your mission. Explain yourself, pilot.
<LCM Fell> Sir, Coruscant has fallen into rebel hands. I just escaped their siege of the planet
<AD Stryker> Report to the debriefing room at once
<Coruscant Area Control> Typhoon 3-1 you are ordered to report to your fleet. Leave the Coruscant area immediately
Victory Briefing[edit]
We were fooled. The rebels used the spy in their ranks to feed us what we expected to hear about their preparations for an assault on Imperial Center, and we fell for it. It seems we are not as immune to the hubris that has so afflicted the Empire under Isard as we once thought.
It is strange to High Admiral Plif, and the rest of us in Command, that Coruscant was so lightly guarded. To be sure, the rebels brought a large force that would have likely taken Imperial Center no matter the defense mounted, but they did not nearly pay as dearly as they should have. Director Isard sent most of the Star Destroyer fleet away in the days prior to the assault for no reason that is readily apparent to us in the Emperor's Hammer.
Ysanne Isard has taken refuge in her Lusankya facility, at an unknown location, but continues to be in communication with us in the TIE Corps.
We will continue to work with her to thwart the New Republic's plans for Coruscant and to retake this galaxy for the Empire.
